Thank you for purchasing WooCommerce Universal UPI Payment Gateway. This document contains comprehensive information about the plugin's features, installation, configuration, and usage instructions. Follow this guide to integrate UPI payments seamlessly into your WooCommerce store.
Files
After purchasing the WooCommerce Universal UPI Payment Gateway, you can download a ZIP archive from CodeCanyon which includes:
- woocommerce-universal-upi-payment.zip: The main plugin file.
- docs/ folder: Contains this documentation.
Ensure you keep a backup of these files in a secure location.
Install
To install the WooCommerce Universal UPI Payment Gateway, please follow these steps:
- Log in to your WordPress dashboard with an admin account.
- Navigate to Plugins > Add New.
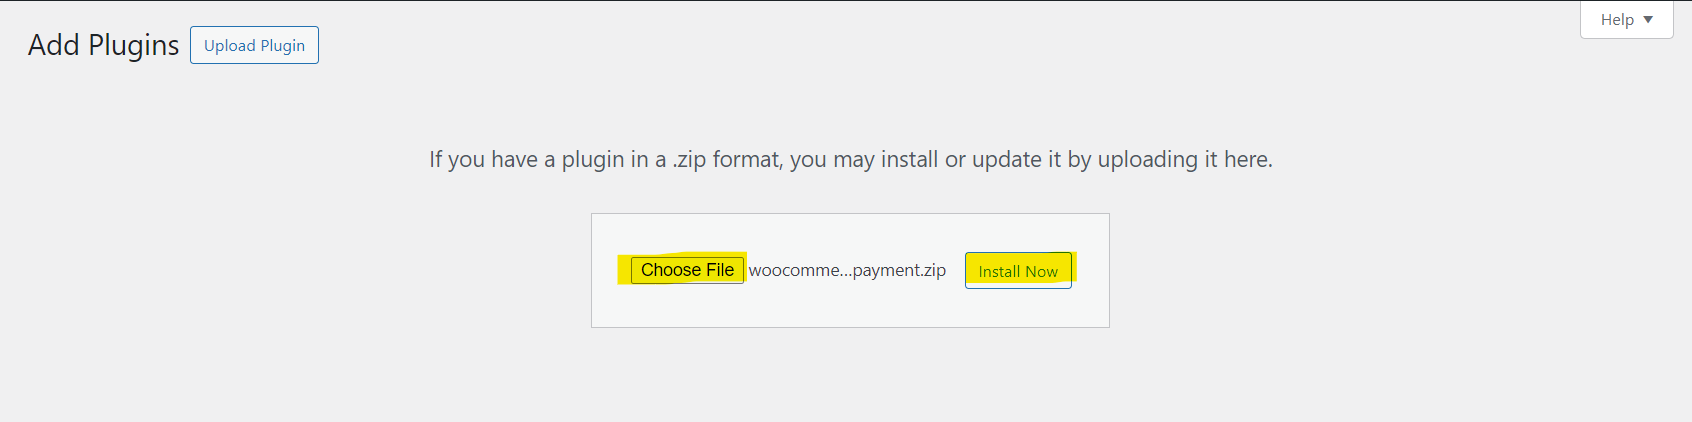
- Click the Upload Plugin button at the top.
- Click Choose File and select the plugin file
woocommerce-universal-upi-payment.zip. - Click Install Now.
- Once the installation completes, click Activate Plugin.
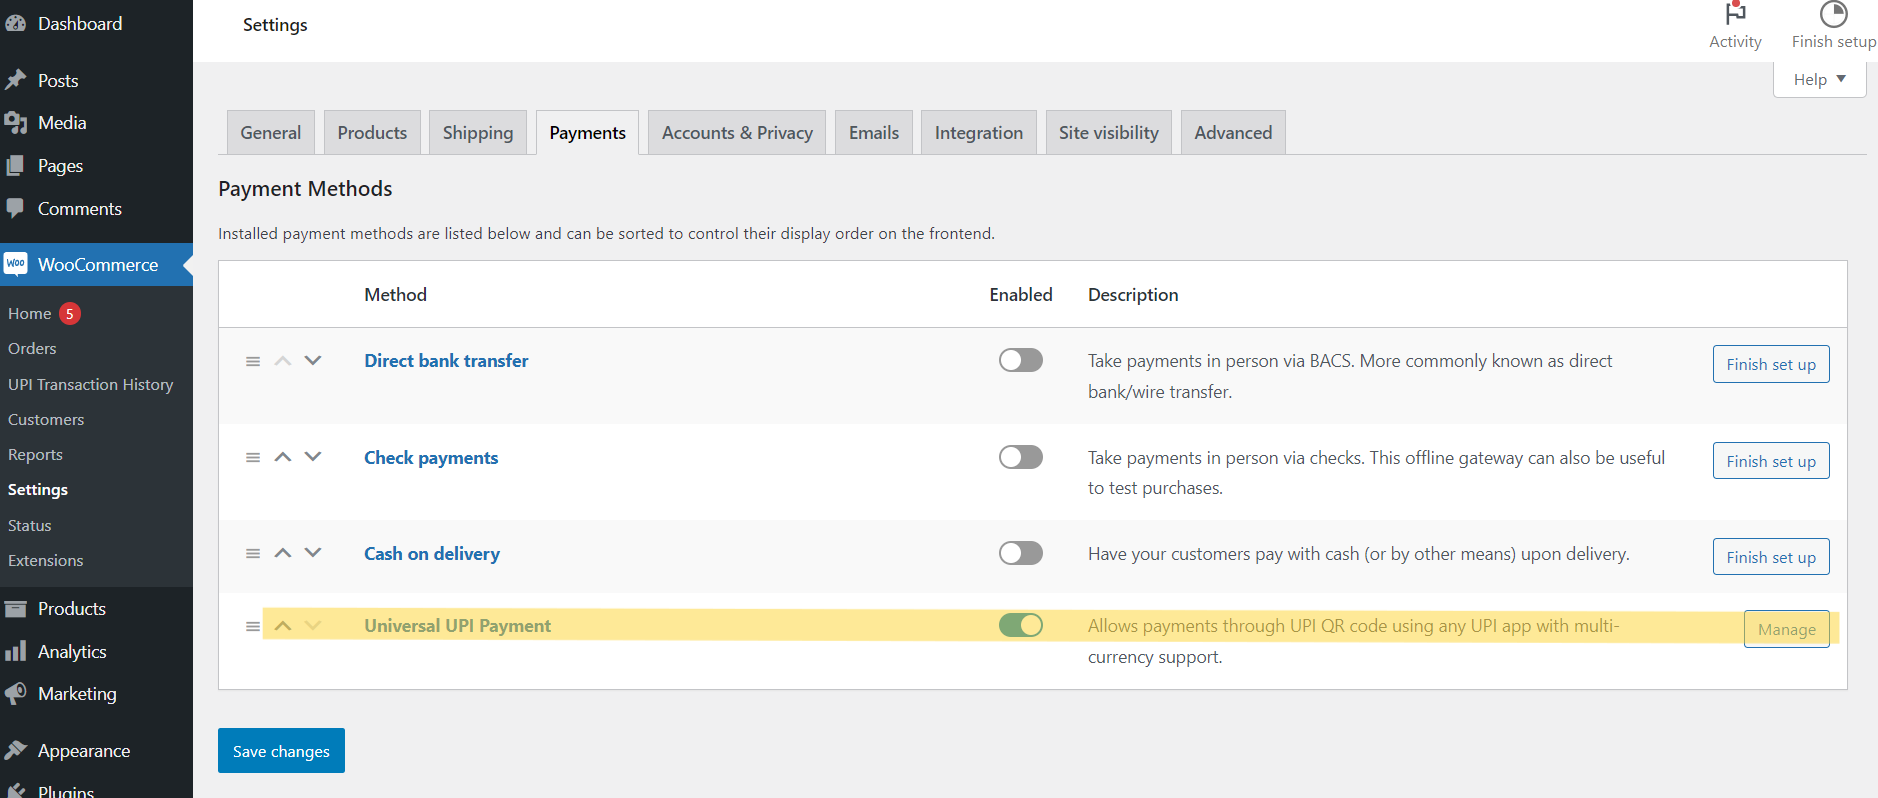
After activation, you will see "Universal UPI Payment" under the WooCommerce menu.
Plugin Options
After installing the plugin, you will find new settings under the WooCommerce settings menu. This section details how to configure and use the plugin's features.
1. Enable/Disable
This option allows you to enable or disable the UPI payment gateway for your store.
2. Title & Description
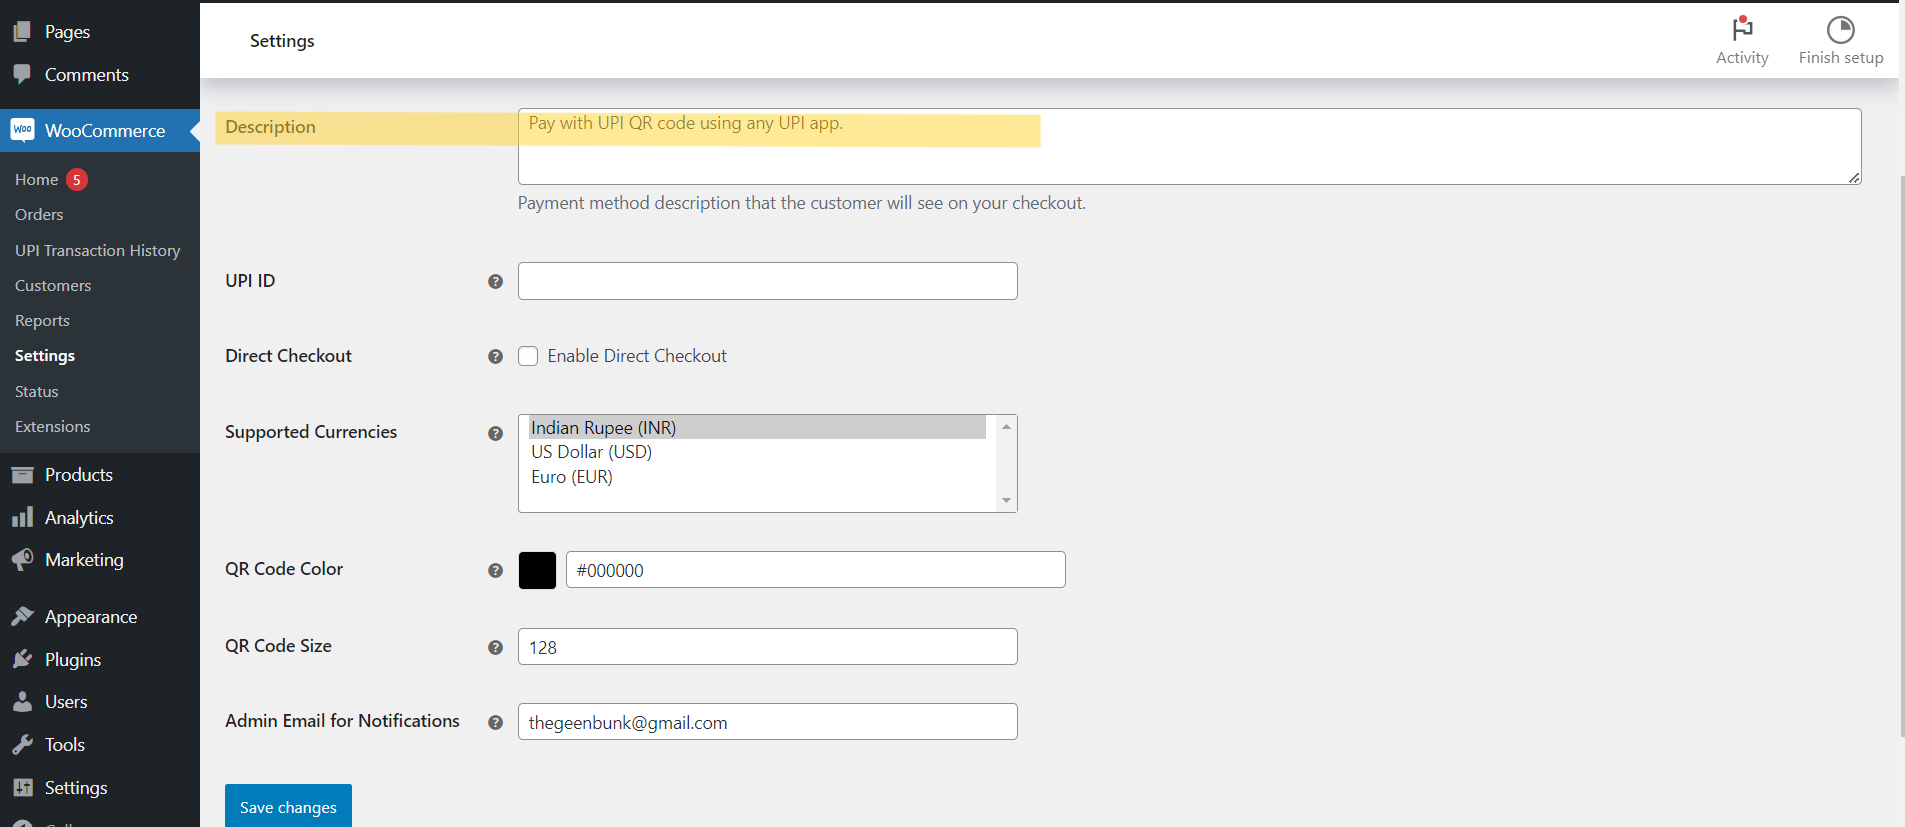
Customize the title and description shown to customers during checkout. This helps to clearly communicate the payment method available.
3. UPI ID
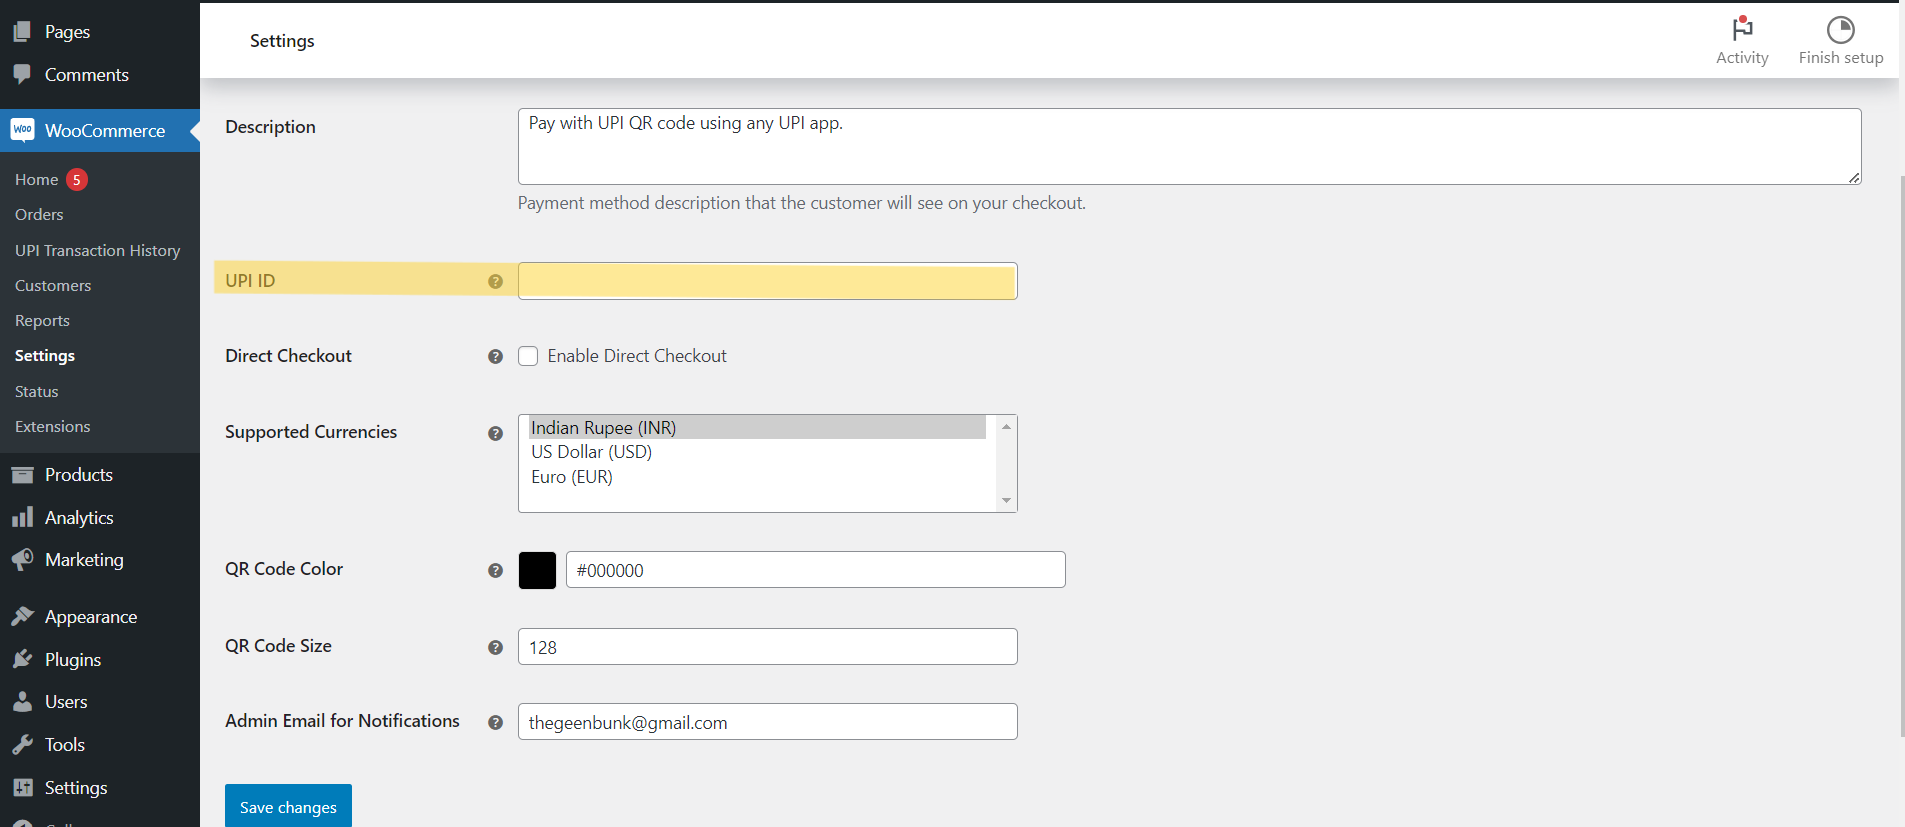
Enter your UPI ID here. This is where payments will be sent.
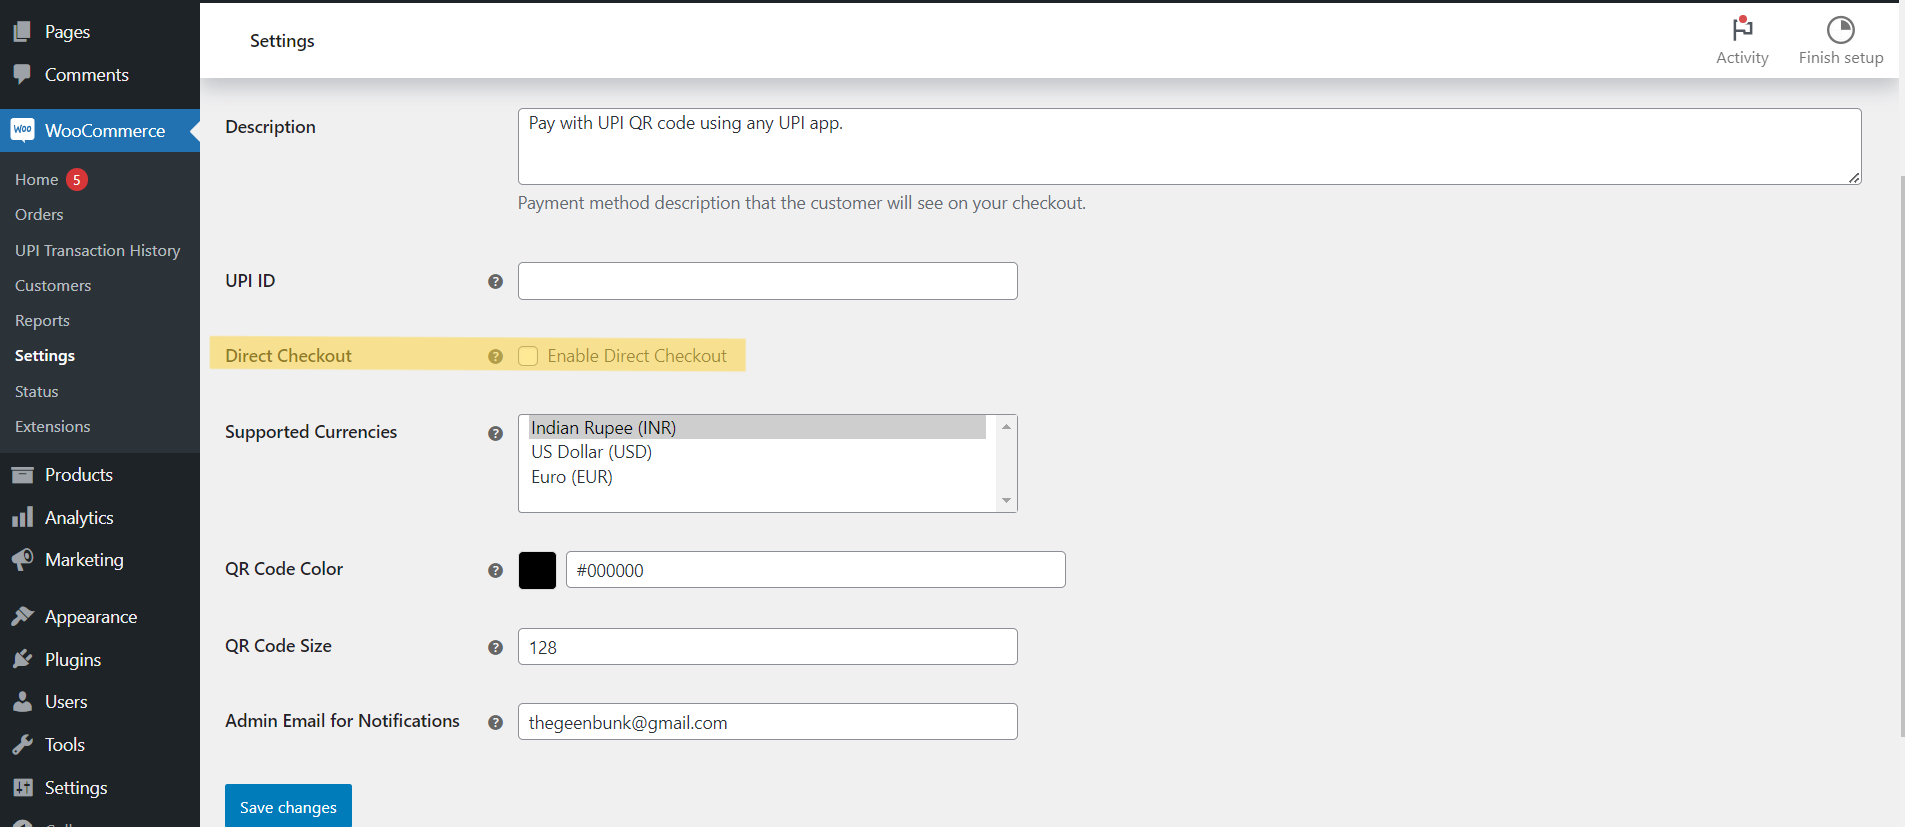
4. Direct Checkout
Enable direct checkout to skip the cart page and proceed directly to the checkout process, streamlining the purchasing experience for your customers.
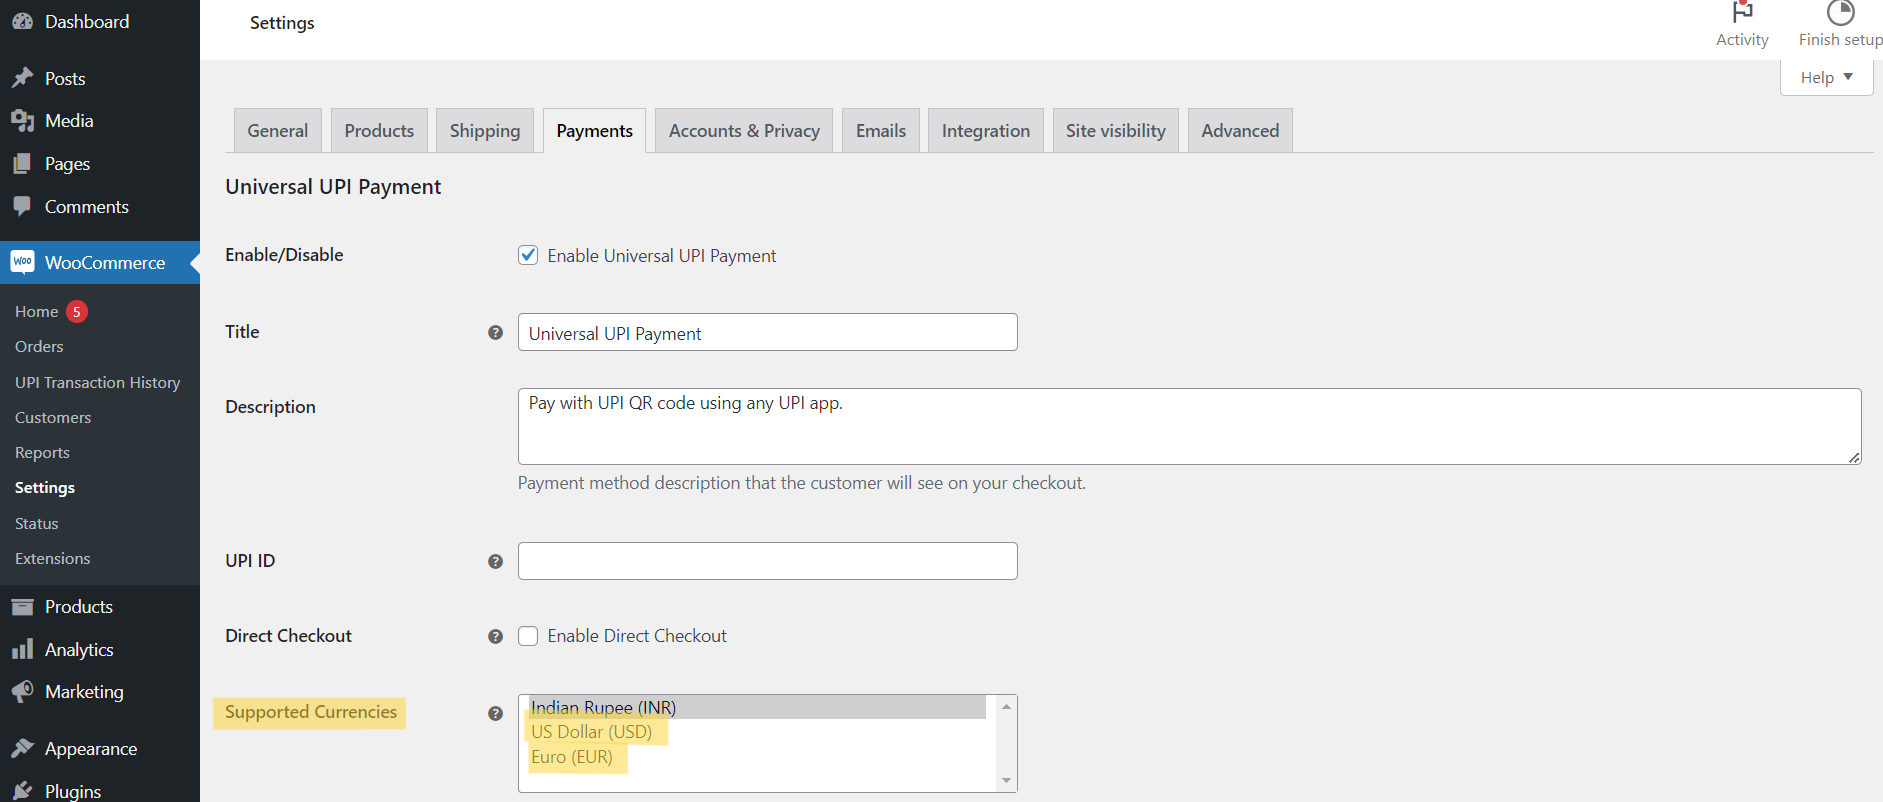
5. Supported Currencies
Select which currencies you want to support. The plugin automatically converts payment amounts to the customer's preferred currency.
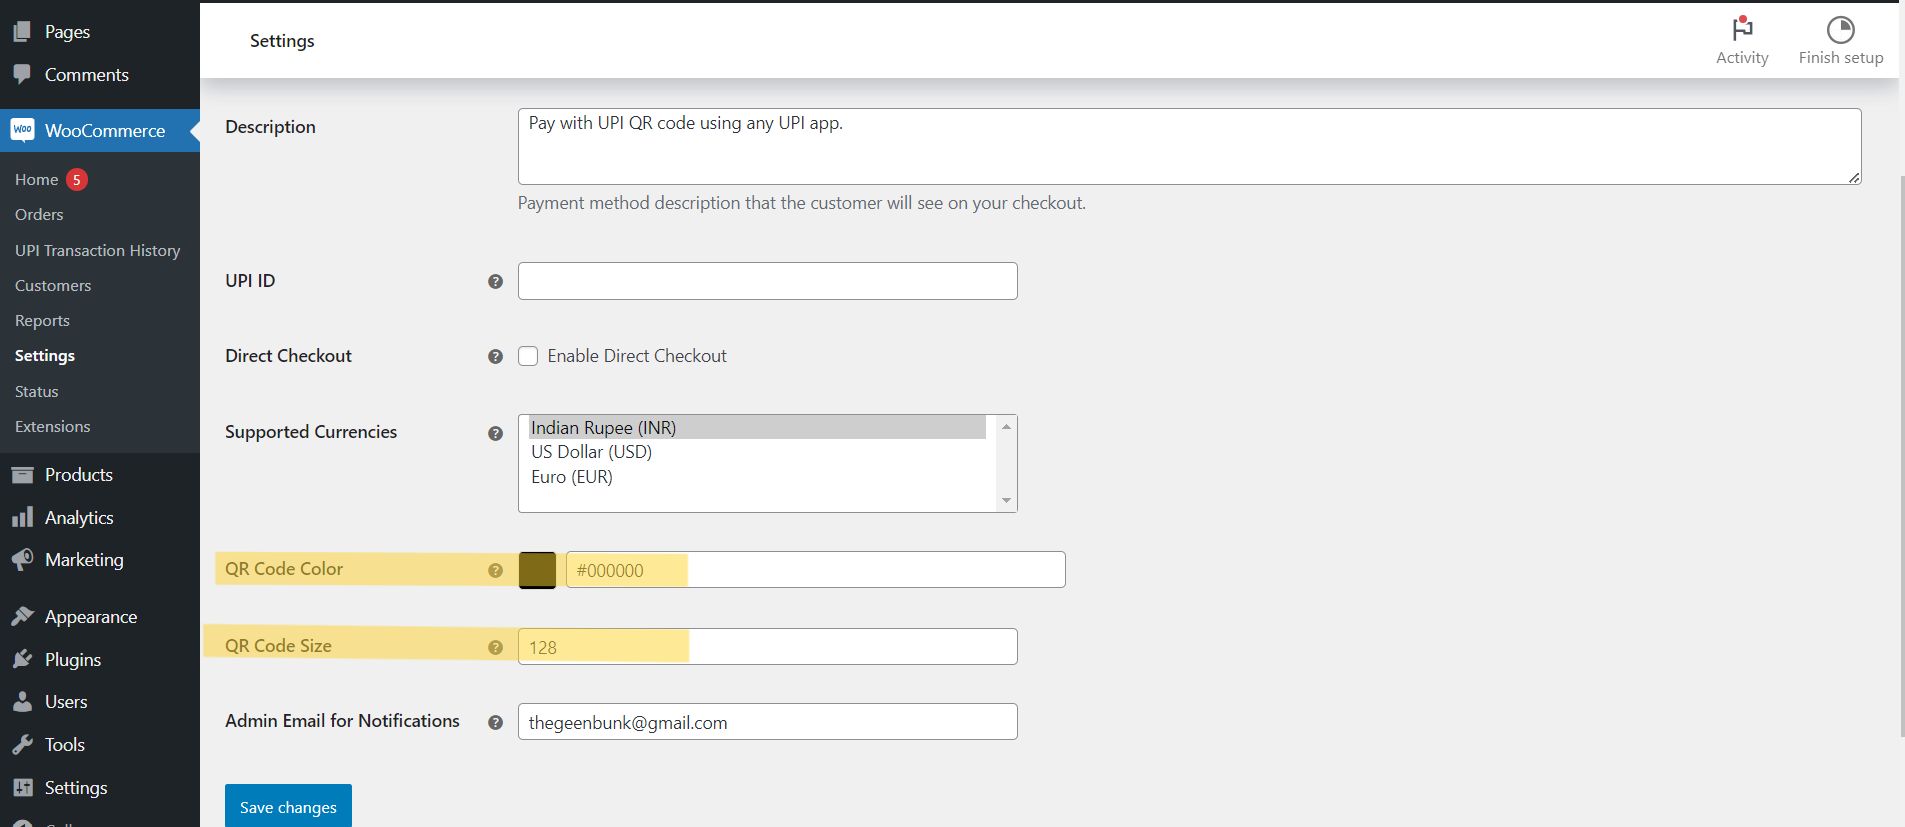
6. QR Code Customization
Customize the QR code's color and size to fit your store's branding. This enhances the visual appeal and consistency of your brand.
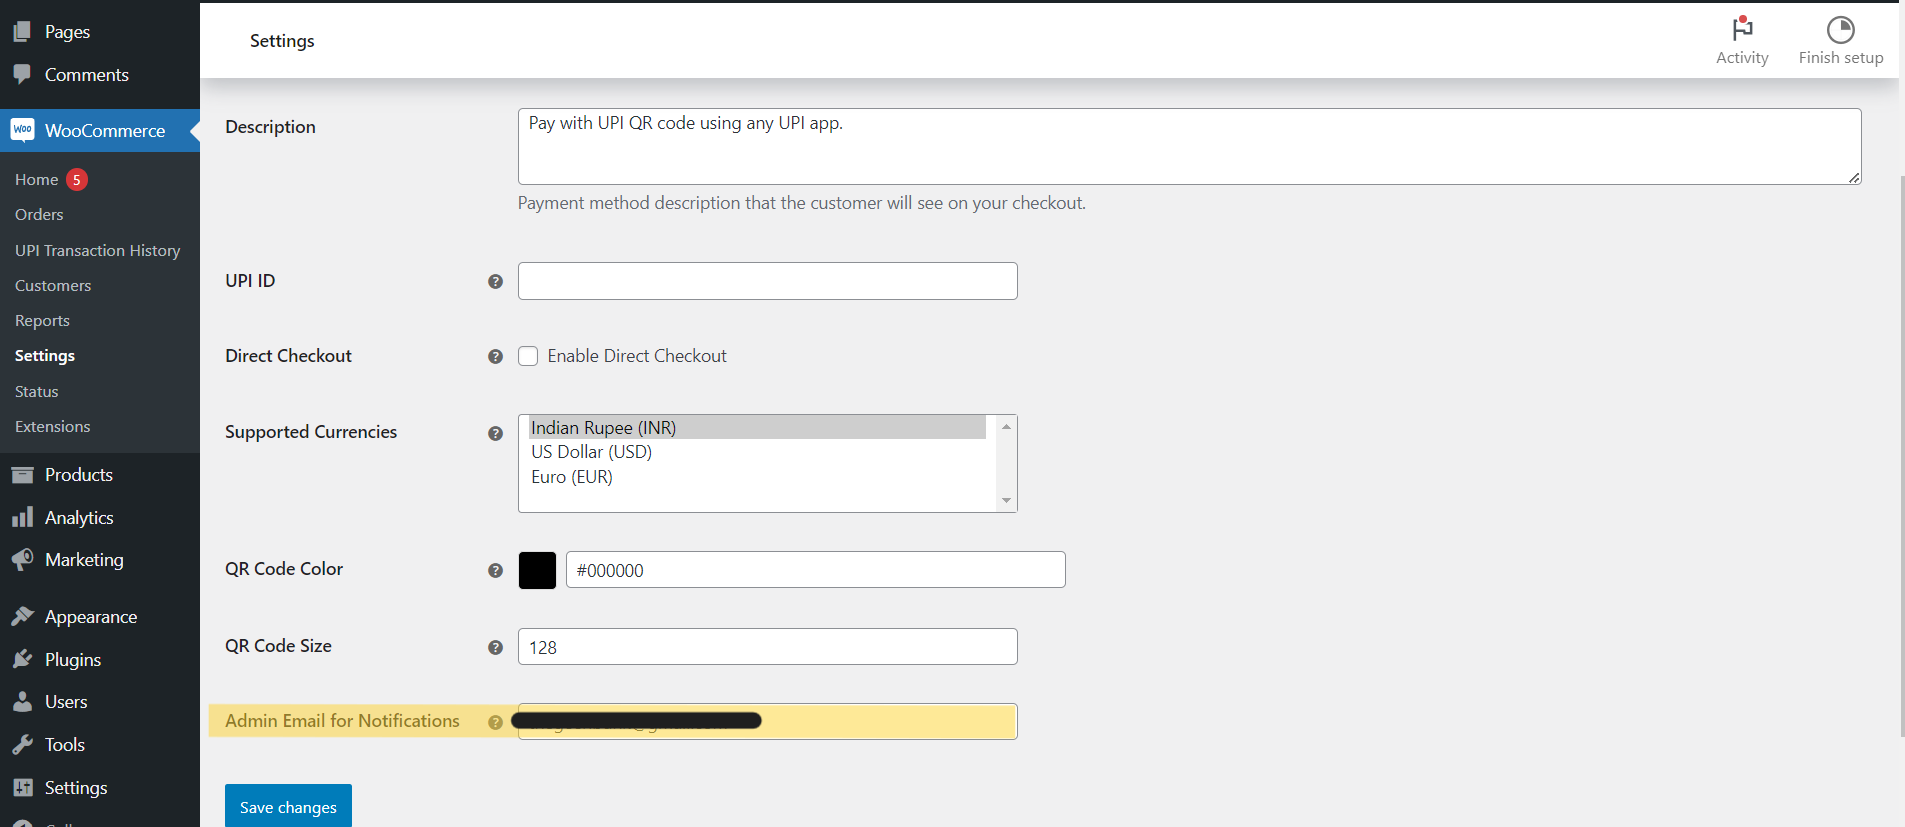
7. Admin Notification Email
Set up email notifications to receive alerts when a payment is verified. You can customize the email address for notifications, ensuring you are informed promptly.
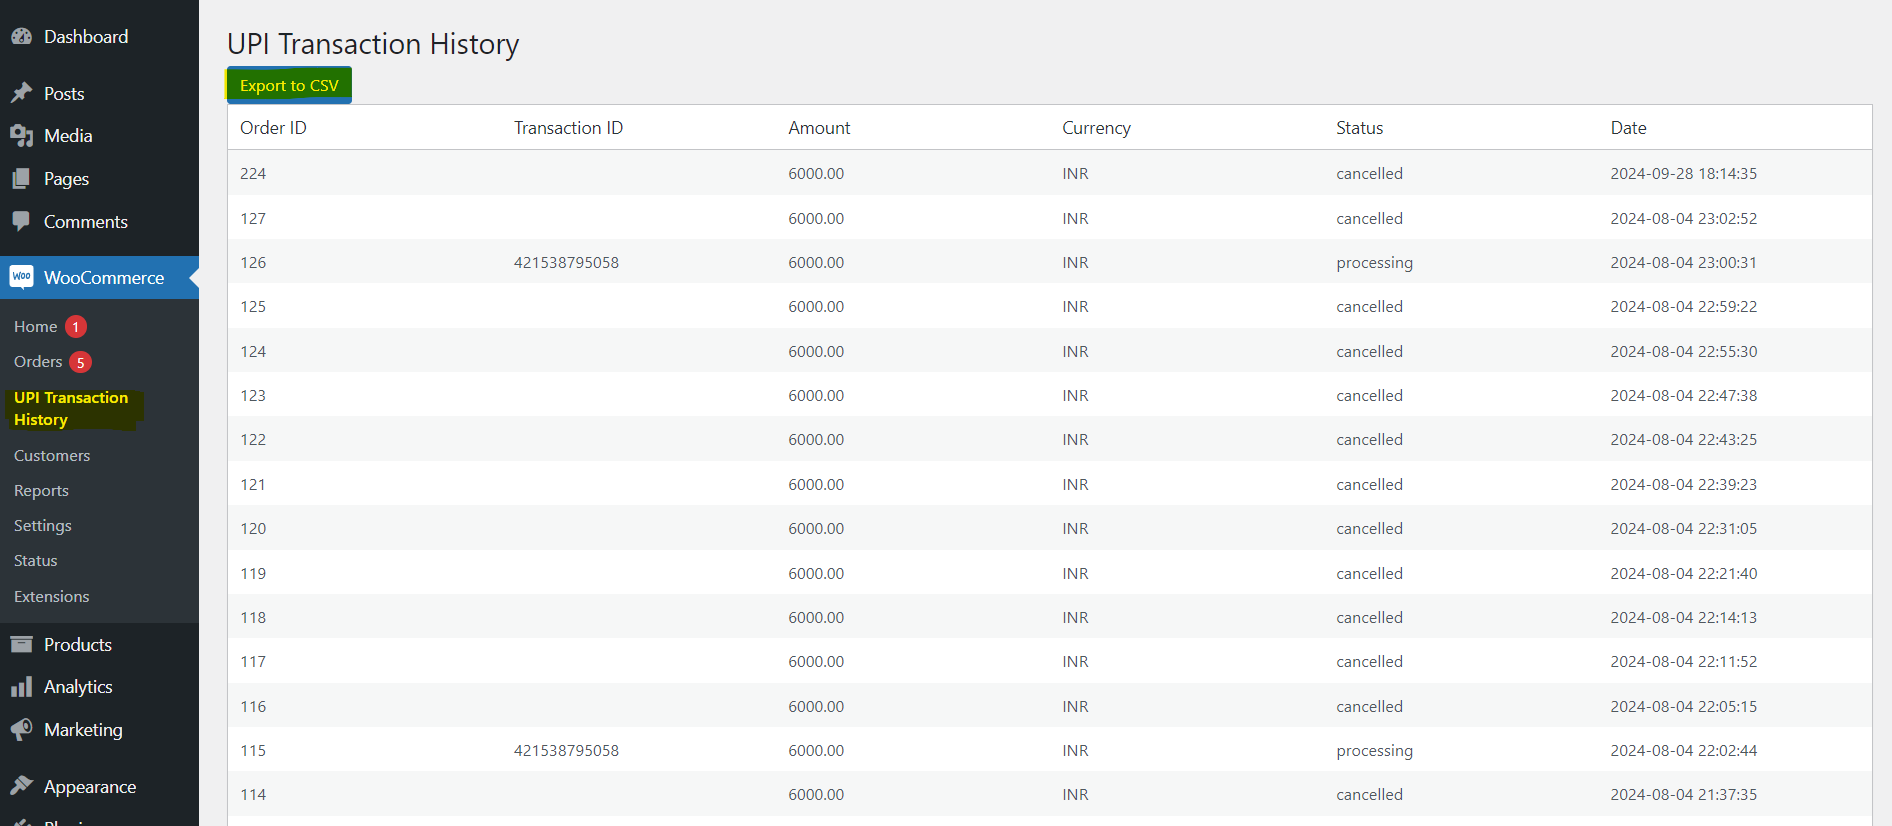
8. Transaction History
Access a detailed history of all UPI transactions directly from your WooCommerce admin dashboard. Export this data to CSV for record-keeping and analysis.
Troubleshooting
If you encounter any issues with the plugin, please refer to the following troubleshooting tips:
- Plugin Not Activating: Ensure your WordPress, WooCommerce, and PHP versions meet the minimum requirements.
- QR Code Not Displaying: Check your browser's console for JavaScript errors and ensure all necessary scripts are loaded.
- Emails Not Sending: Verify your WordPress email settings and ensure the correct admin email is set in the plugin settings.
If these steps do not resolve the issue, please contact our support team for further assistance.
Credits
- QRCode.js - A JavaScript library for generating QR codes.
- WordPress - The world's most popular content management system.
- WooCommerce - A flexible eCommerce platform built on WordPress.
Support
If you have any questions or need support, please don't hesitate to contact us at support@thegreenbook.in. Our support team is available to assist you with any issues or queries.